Cloudy with Particles
Backyard Scientists
Is it possible to see subatomic particles in your basement using an old pickle jar? In high school, my best friend and I set out to answer exactly that. We decided to build a cloud chamber – a particle detector originally invented by Charles Wilson that makes the invisible radiation constantly surrounding us visible to the naked eye.
The Engineering Challenge
The essential principle of a cloud chamber is creating a supersaturated vapor. Just as water vapor in the air condenses into dew on cold morning grass, the vapor in the chamber condenses around ions. When ionizing radiation from high-energy particles interacts with the gas, it creates these ions, which then act as condensation nuclei. To achieve this, we chose isopropyl alcohol over water – its lower freezing point and higher volatility allow it to remain in vapor form at much lower temperatures.
This visualizing effect can be amplified by applying a high-voltage electric field, which prevents the ions from neutralizing too quickly and ensures longer visibility of the trails. Lacking specialized lab equipment to generate this field, we relied on static electricity, simply rubbing our hands on a nylon fleece sweatshirt near the chamber to do the trick.
The most significant hurdle, however, was the cooling system. There are a few different cooling methods for cloud chambers. One can use adiabatic expansion to create temporary cooling by rapidly lowering the pressure... but I highly doubt two high-school students could pull that off. Another popular method is using dry ice to supercool the vapors. While effective, it is a hard-to-source consumable that is strictly one-time use. Ultimately, we opted for Peltier thermoelectric modules, which allowed us to build an electrically powered, infinitely reusable cooling system.
Our Solution: Reusable with a Peltier Module
Enter the Peltier thermoelectric module. By using semiconductors, Peltiers can achieve massive temperature differentials, but they generate a tremendous amount of heat on their hot side.
We cascaded two modules (a TEC-12706 stacked on a TEC-12710) to force the temperature down as low as possible. Our initial tests using a standard air-cooled computer heatsink failed – it simply couldn't dissipate the heat fast enough. To fix this, we stepped up the engineering: we submerged the massive heatsink fins in an actively circulating ice bath. This homemade liquid-cooling loop worked brilliantly, driving our cold plate down to a freezing -23°C.
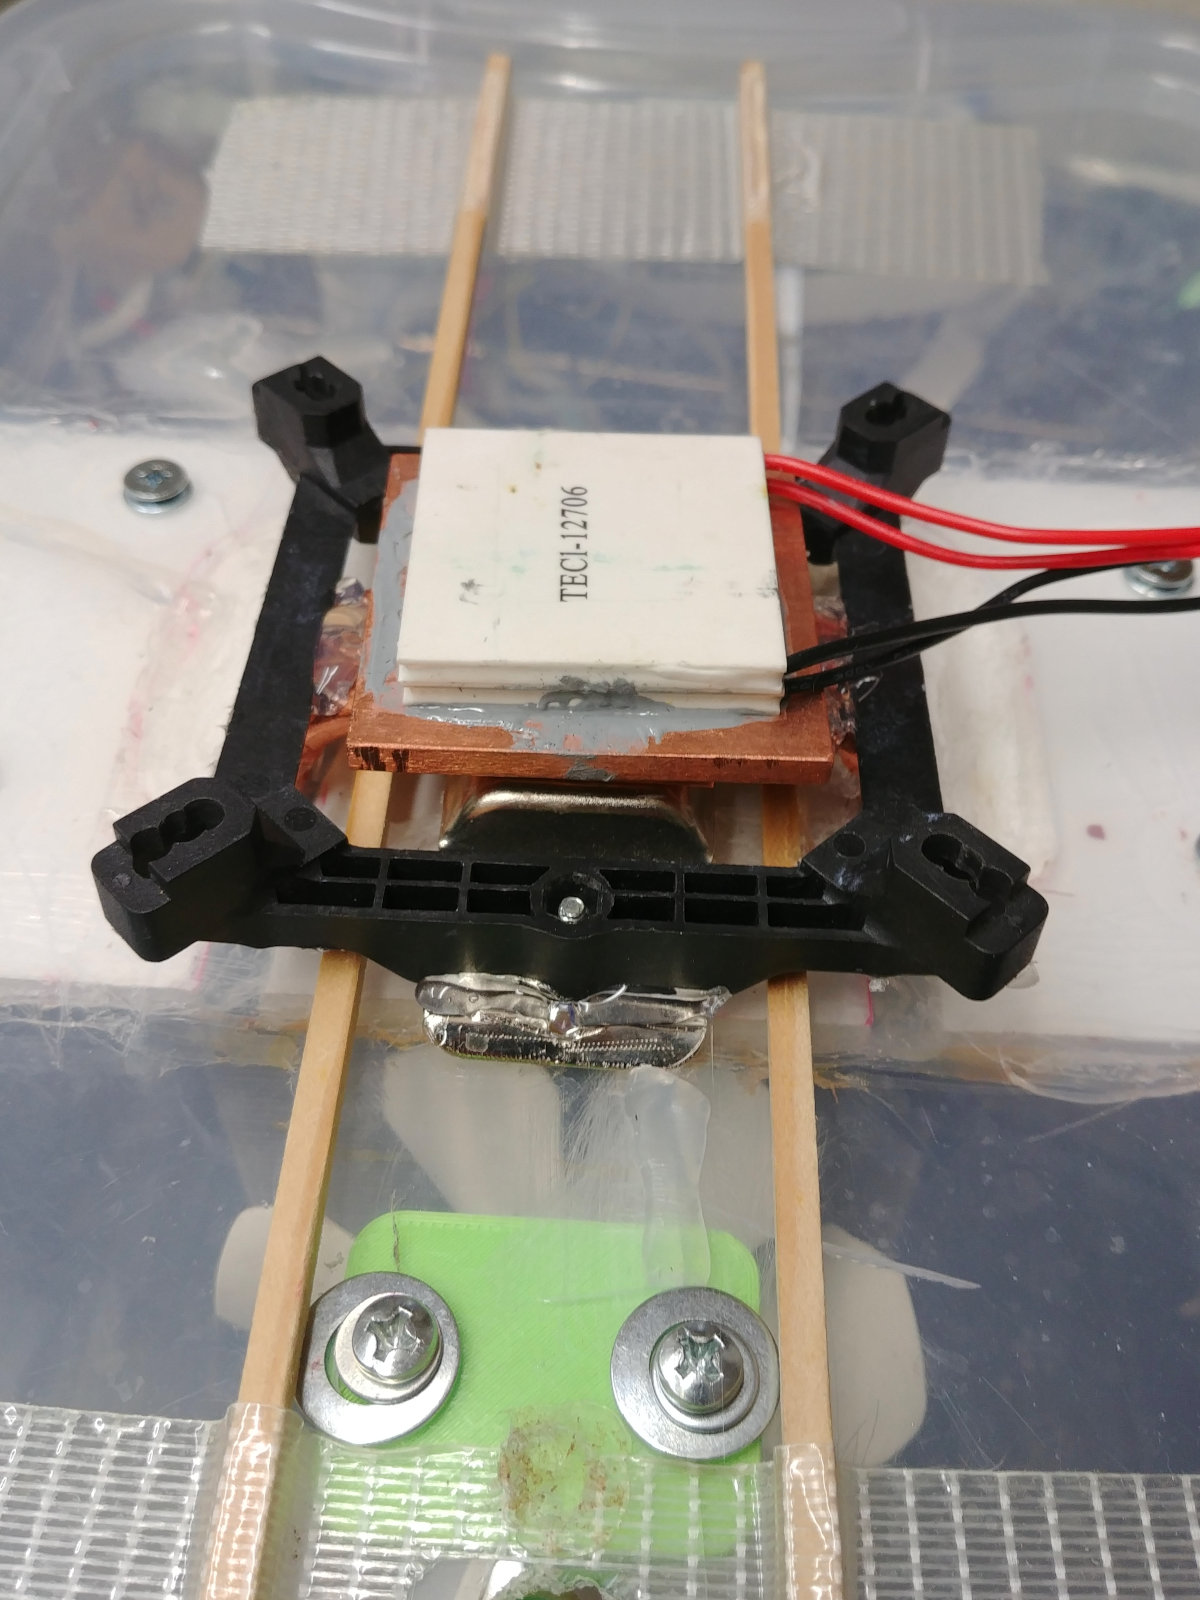
Cascade of Peltier modules, the top one is a TEC-12706 and the bottom one is a TEC-12710
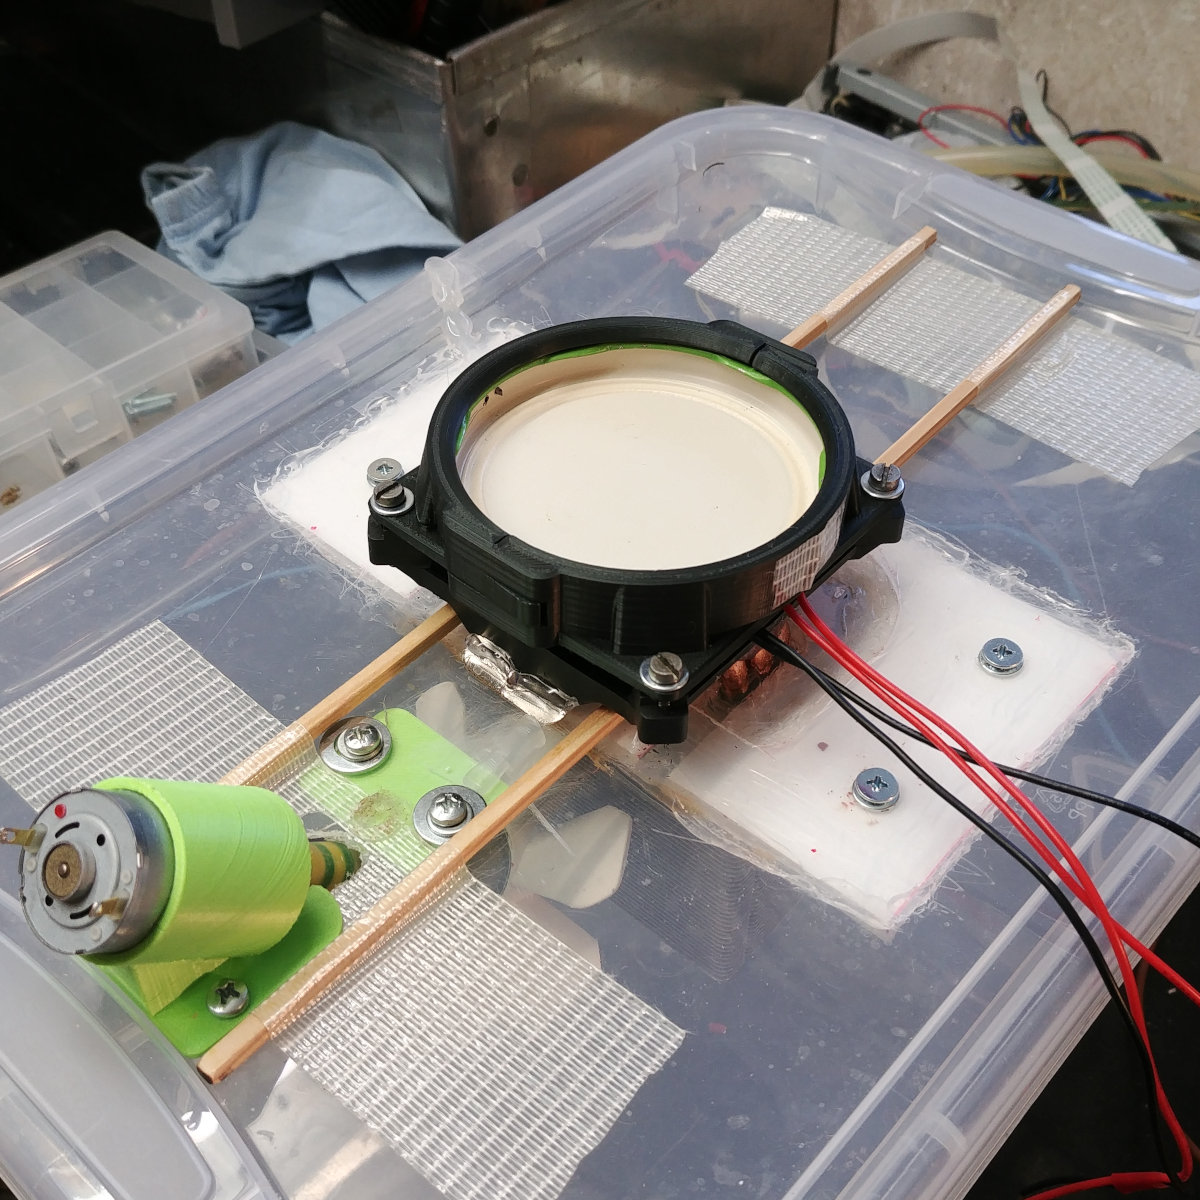
Lower plate and an improvised cooling system in place
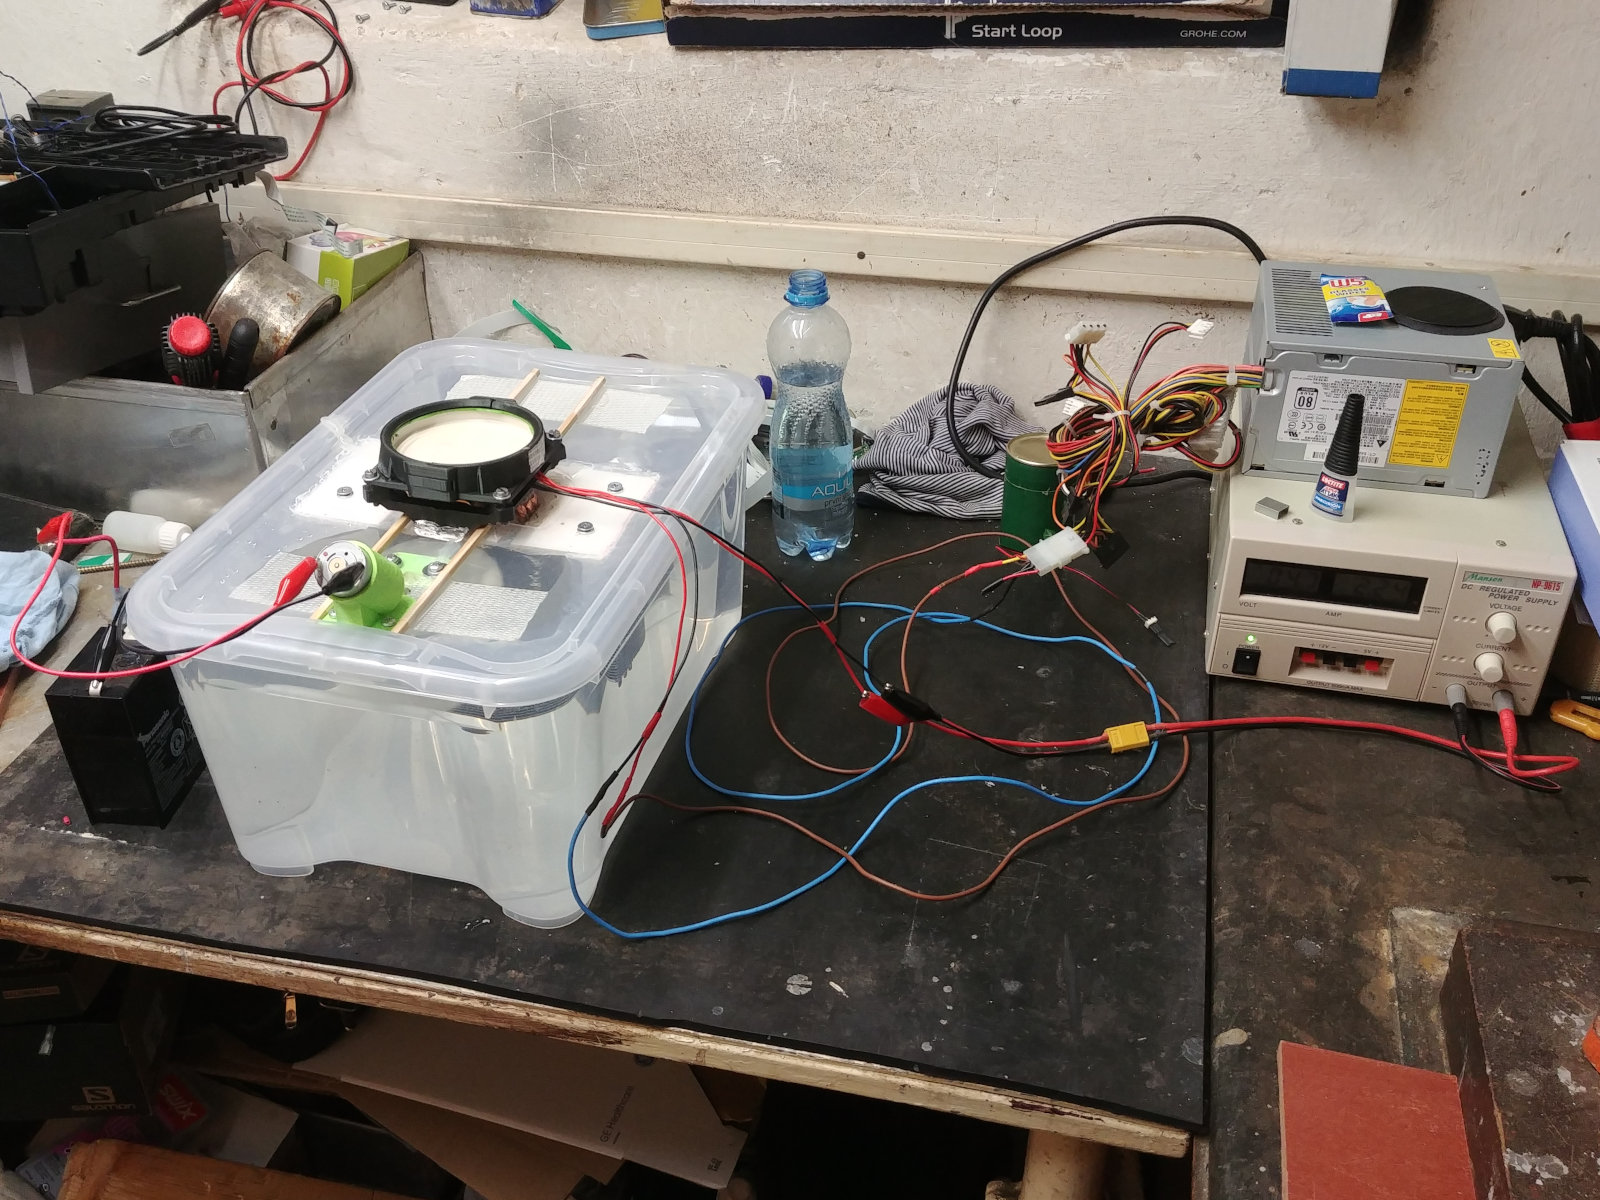
Jerry-rigged setup powered by a all sorts of power supplies
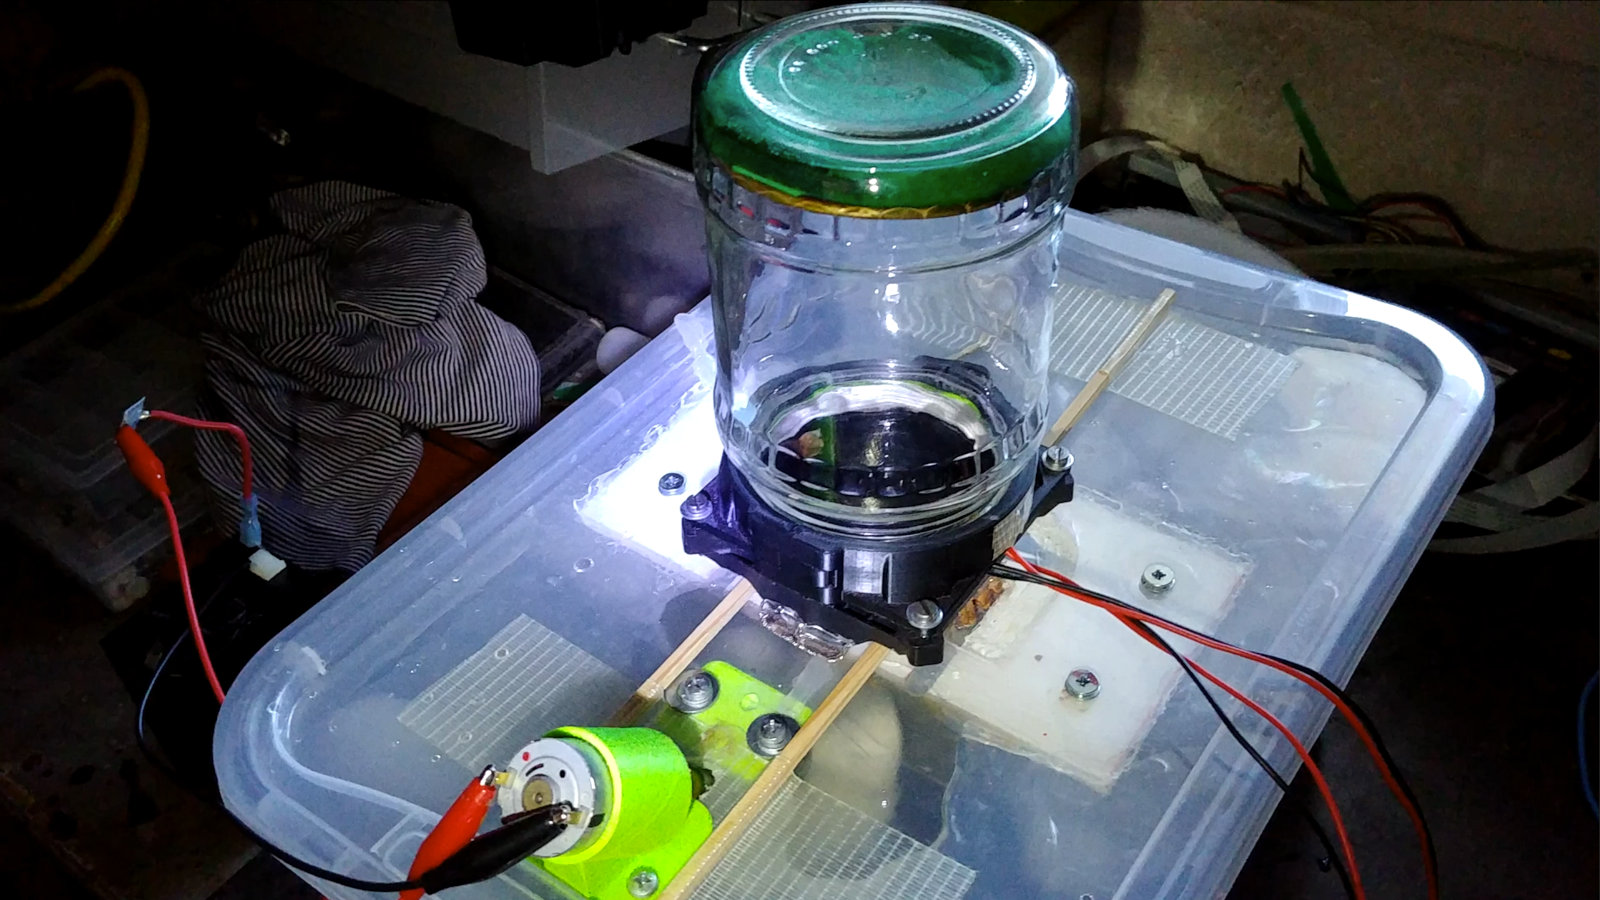
Fully assembled and working Cloudy with Particles cloud chamber
The Frankenstein Assembly
The final setup was a proud piece of 'mad scientist' engineering. We used a glass pickle jar as the main chamber because it was perfectly airtight. Using CAD and my first 3D printer, I designed custom brackets to mount the jar's heat-conducting metal lid to our Peltier cascade.
To keep the ion trails visible for longer, the chamber needed a high-voltage electric field. Lacking expensive lab equipment, we generated static electricity by vigorously rubbing a nylon fleece sweatshirt and holding it near the chamber. Finally, for our radiation source, we acquired a small piece of uranium ore (smolinec). Its radioactivity was perfectly safe for handling, but active enough to put on a show.
The Payoff
The trails were mesmerizing: thick lines for alpha particles and thin, sharp streaks for beta particles. While distinguishing finer details like positrons and electrons was not feasible due to the chamber's scale and a lack of constant electric field, the project succeeded in making particle physics tangible in my basement lab.
Building this chamber was about much more than a high school physics experiment. It was my first real dive into thermodynamics, CAD design, 3D printing, and the chaotic, highly-rewarding joy of iterating through messy prototypes until something beautiful works.
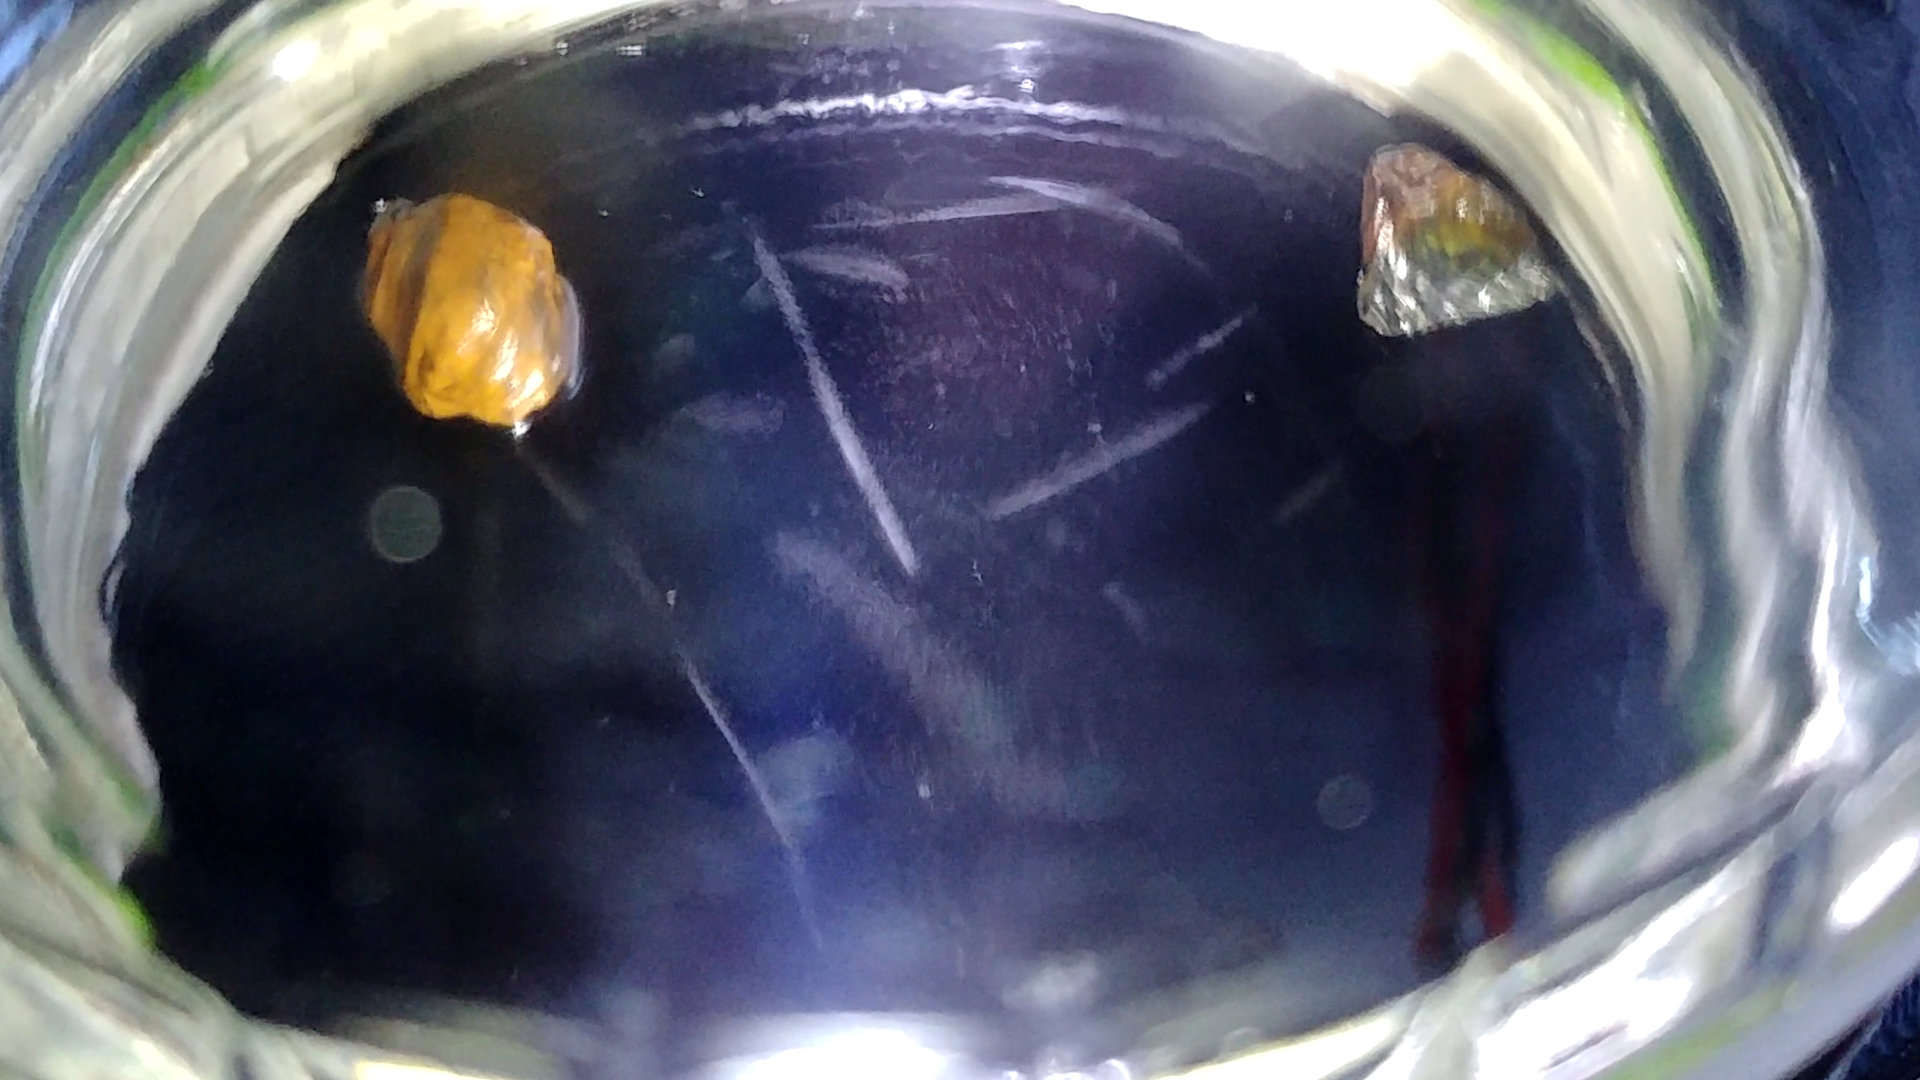
A photo of the Cloudy with Particles cloud chamber, showing the particle trails
Cloudy with Particles cloud chamber in action, thick trails are alpha particles, thin ones are beta particles (electrons)